Best Apps to Create Custom Apple Watch Faces in 2022
There are a lot of apps that claim to be able to create custom watch faces. However, only a few are actually worth your time (and in some cases, money). We have tested a lot of these apps, and come up with the five best options you can try. Plus we have a bonus section also for people who may want to learn and try something new. You can use the table of contents below to get an overview of the article and skip over to any section that piques your interest.
1. Watchsmith
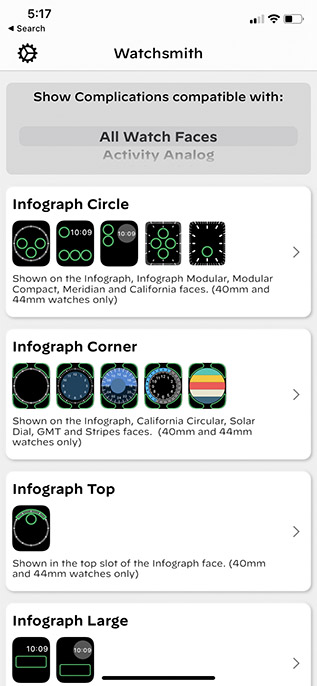
Watchsmith is the app I use most often to create custom Apple Watch faces. This app offers an impressive amount of customisability. Plus, there are loads of useful features. While the app doesn’t create watch faces from scratch, it offers the next best thing. Basically, you can use this to create custom complications for your Apple Watch. For example, you can set up complications for the Infograph watch face. Moreover, you can do it in a way that a single complication can show different types of information based on the time of day.
That means complications on your Apple Watch get more useful than ever before. For example, I have set up my watch to use complications that show the weather when I wake up in the morning. Then later, the same complication shows me my tasks for the day, followed by a quick wind-down app that I use to meditate before bedtime. Watchsmith is free to use, but you can get more data types for your complications by subscribing to Watchsmith Premium for Rs. 169 per month. Download Watchsmith from the App Store (Free, offers subscription)
2. Watch Maker
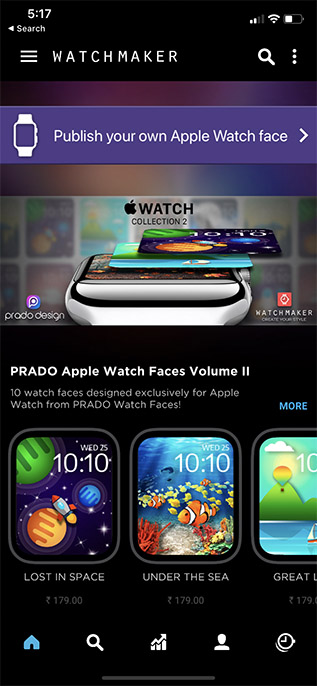
Another app you can use to get new Apple Watch faces or create your own is Watch Maker. This app offers the ability to create your own watch face for Apple Watch. However, in the free version of the app, the faces you can create are extremely limited. So limited that it’s basically useless as is. However, you can purchase the pro version of the app for Rs. 349/week (3 day free trial available) and create highly customised watch faces for watchOS. You can add backgrounds, hour, minute, and second hands, and a lot more.
If you don’t want to pay, you can check out watch faces made by others in the app, or simply look at the free watch faces that are available, and use them. The only reason I’ve not kept this app at the top of this list is this mystifying price. Rs. 349/week doesn’t make sense, and Rs. 4,299 per year makes even less sense than that. Download Watch Maker from the App Store (Free, offers subscription)
3. Facer
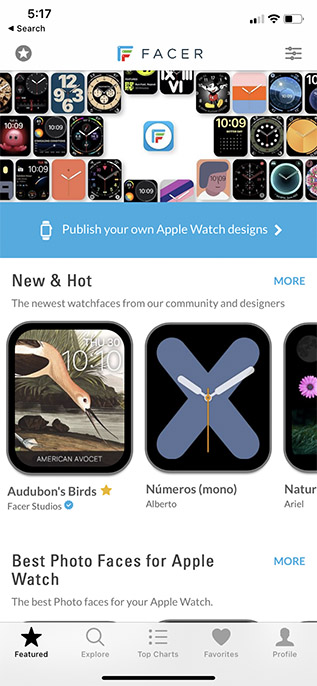
If you’re simply looking for some third party Apple Watch faces, this is great app to try. Facer offers a lot of watch faces that you can download on your watch. Plus, most of these are available for free, so you don’t need to spend a penny. You can browse through custom watch faces within the app and easily add them your Apple Watch. Plus, if you want, you can subscribe to the premium version to get access to all the premium watch faces as well.
If you have made a new watch face for your Apple Watch, you can use Facer to share the face with everyone around the world so they can install and try it as well. Basically, Facer is a great app to get new watch faces for Apple Watch. What’s more, it is perfectly usable for free as well, which is great. Download Facer from the App Store (Free, offers subscription)
4. Watch Faces
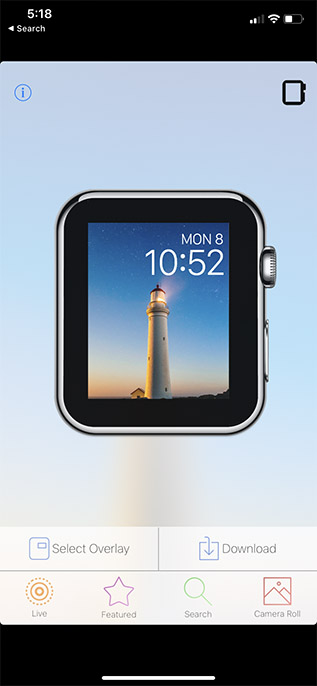
You can also check out Watch Faces for creating custom faces for watchOS. This app lets you use any picture from your iPhone gallery, find something on the internet, or one of the images included with the app.
You can then add overlays to the image. These are pretty basic, to be honest. Most of the time, you will be using them to add some opacity behind the clock so the time is more easily visible. Other than that, there’s not a lot that you can do with the app. Buy Watch Faces from the App Store ($1.99/ Rs. 179)
5. Use Photoshop to Create Custom Watch Faces
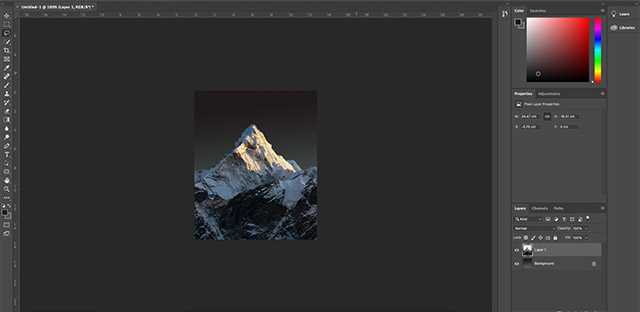
If you’re feeling creative, you can use Photoshop (or an app like Photoshop) to create your own watch faces as well. Basically what you will do is create a background image for your Apple Watch. You can then sync this image to your Apple Watch and display the time, along with two other complications on top of it. To do this, you will need to create a new Photoshop project of the exact size for your Apple Watch. Here are the sizes you should use based on your Apple Watch’s size.
38mm watch: 272×340 pixels 40mm watch: 324×394 pixels 42mm watch: 312×394 pixels 44mm watch: 368×448 pixels
Once you’ve created the blank project, create your custom design on it. You can use Photoshop’s tools to do this, or download images and add them to your design. You may want to remove backgrounds from these images as well, so they look better with your chosen background. Export the image and transfer it to your iPhone. Create a new album for the image so you can sync it with your watch. You can also simply sync all your photos, but that will take up a lot of space on your Apple Watch if you click way too many pictures.
Sync your new album with the Apple Watch by heading over to the Watch app -> Photos. Select your album under the synced album option. On your watch, long press on the watch face. Scroll and tap on ‘New’, and choose ‘Photos’. Your synced photo will now be used as the watch face for your Apple Watch. You can also edit the complications to show extra information alongside the time.
Bonus: Create Watch Faces with SpriteKit
You can also create Apple Watch faces with Xcode if you have a flair for programming. This method basically requires you to create an Apple Watch app, which will have the watch face as the UI. You can then install this app on your Apple Watch, and run it to make it look like it’s the watch face. Obviously, it’s not truly a watch face because you’re literally running an app on your watch that looks like a face. However, it does get the job done. What’s more, since it’s basically an app, you can make watch faces that do pretty much anything you want them to do, as long as you can write the code for it. You can take a look at this sample watch face created with SpriteKit to get started. If you want, you can simply install this watch face as well.
How to Set Custom Watch Faces in Apple Watch
Depending on the app you’re using, you will have to set the custom watch face on your Apple Watch in different ways.
1. Watchsmith
For Watchsmith, you don’t need to do anything. Simply edit the complications on your current watch face and choose the complications you created with Watchsmith. The actual watch faces will be the ones made by Apple, so you don’t need to worry about creating your own.
2. Watch Maker
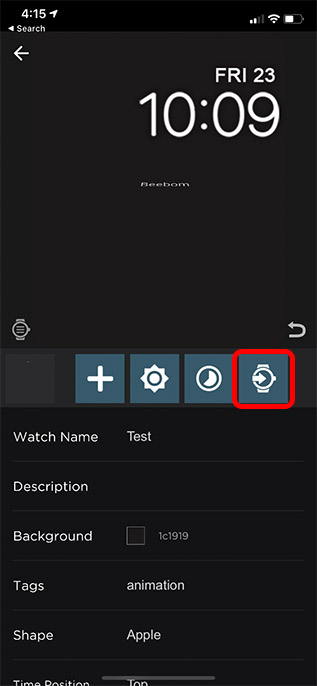
In Watch Maker, you can set your custom watch face by following the steps below.
In the screen where you created your watch face, tap on the icon shown below.
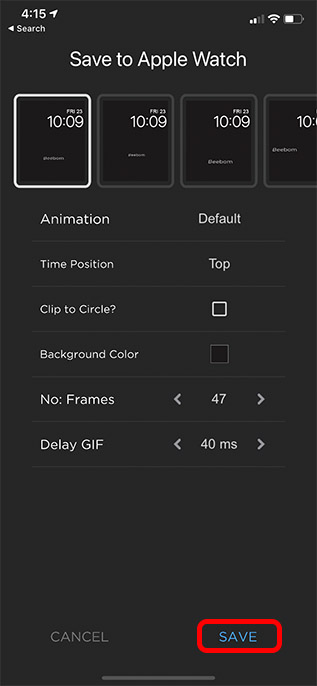
Tap on ‘Save’
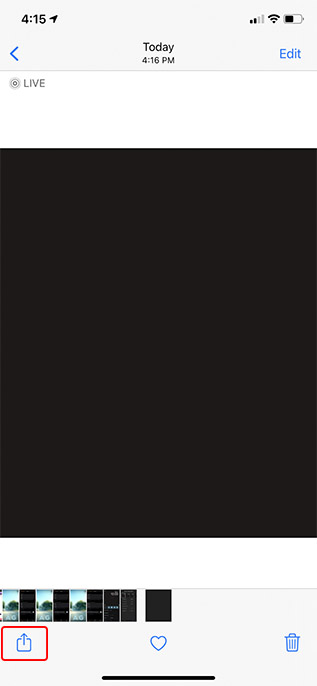
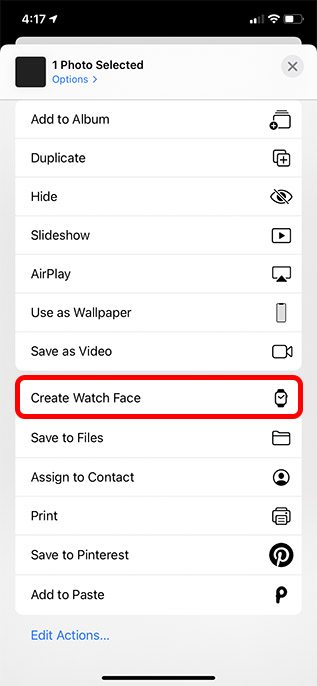
Open the Photos app, and you will see the new watch face saved as a photo. Tap on the share icon.
Tap on ‘Create Watch Face’.
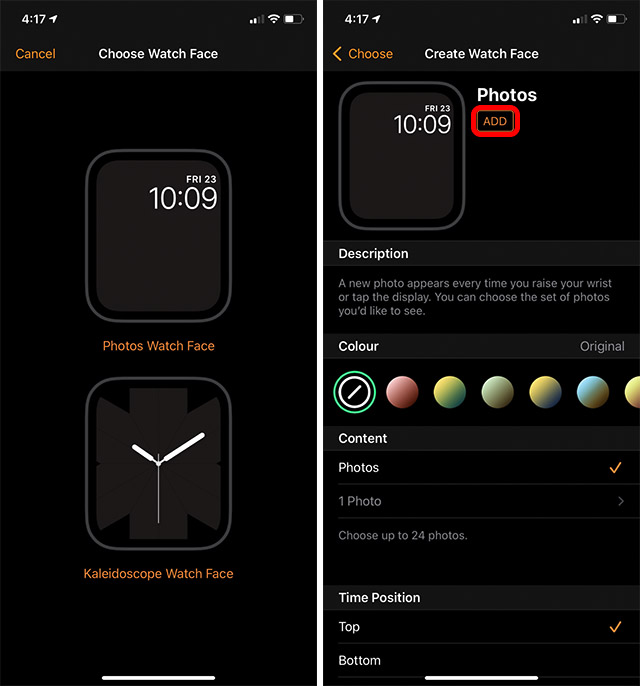
Choose the style you want. I’m using Photos Watch Face. Tap on ‘Add’
You can now find the watch face in your Apple Watch by selecting the ‘Photos’ watch face.
3. Facer
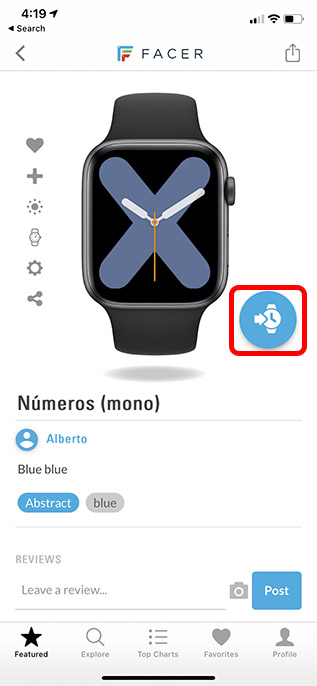
Find the watch face you want to use, and tap on the icon shown below.
Tap on ‘Add to My Faces’
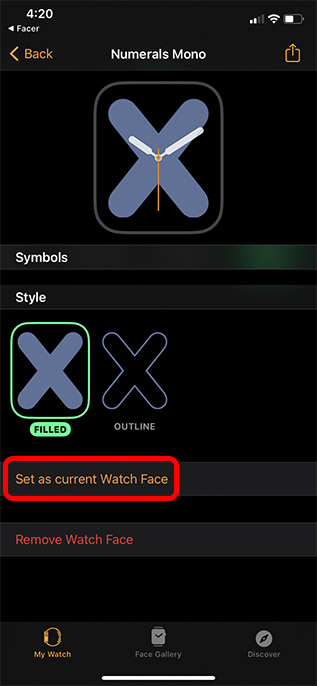
Select the watch face you just added, and tap on ‘Set as current Watch Face’.
4. Watch Faces
Once you’ve created your watch face, tap on the ‘Save’ option. Go to the Photos app, and open the new photo that has been added. Tap on the ‘Share’ button.
Tap on ‘Create Watch Face’.
Choose the style you want. Tap on ‘Add’.
You can now find the watch face in your Apple Watch by selecting the ‘Photos’ watch face.
Use Custom Watch Faces on Apple Watch
Even though Apple doesn’t let users create completely customised watch faces, there are still plenty of ways you can get some level of customisation on your watch. As we saw in this article there are quite a few apps that let you create third party watch faces for Apple Watch. Hopefully Apple will soon start allowing users to make their own watch faces entirely from scratch. In the meantime, which apps are you thinking of using to create and set custom watch faces? Let us know in the comments.
